
Skip to content

The DOM

docs.scrimba.com

Your HTML file loads once, and then the page sits there. But a search box that suggests results as you type, a menu that opens on click, a counter that ticks up, none of that is in the HTML file. Something changes what is on the page after it has loaded, and that something is JavaScript reaching into the page through the DOM. This chapter is about that reach: how JavaScript finds the parts of a page and changes them so the page updates in front of the reader.

What the DOM is

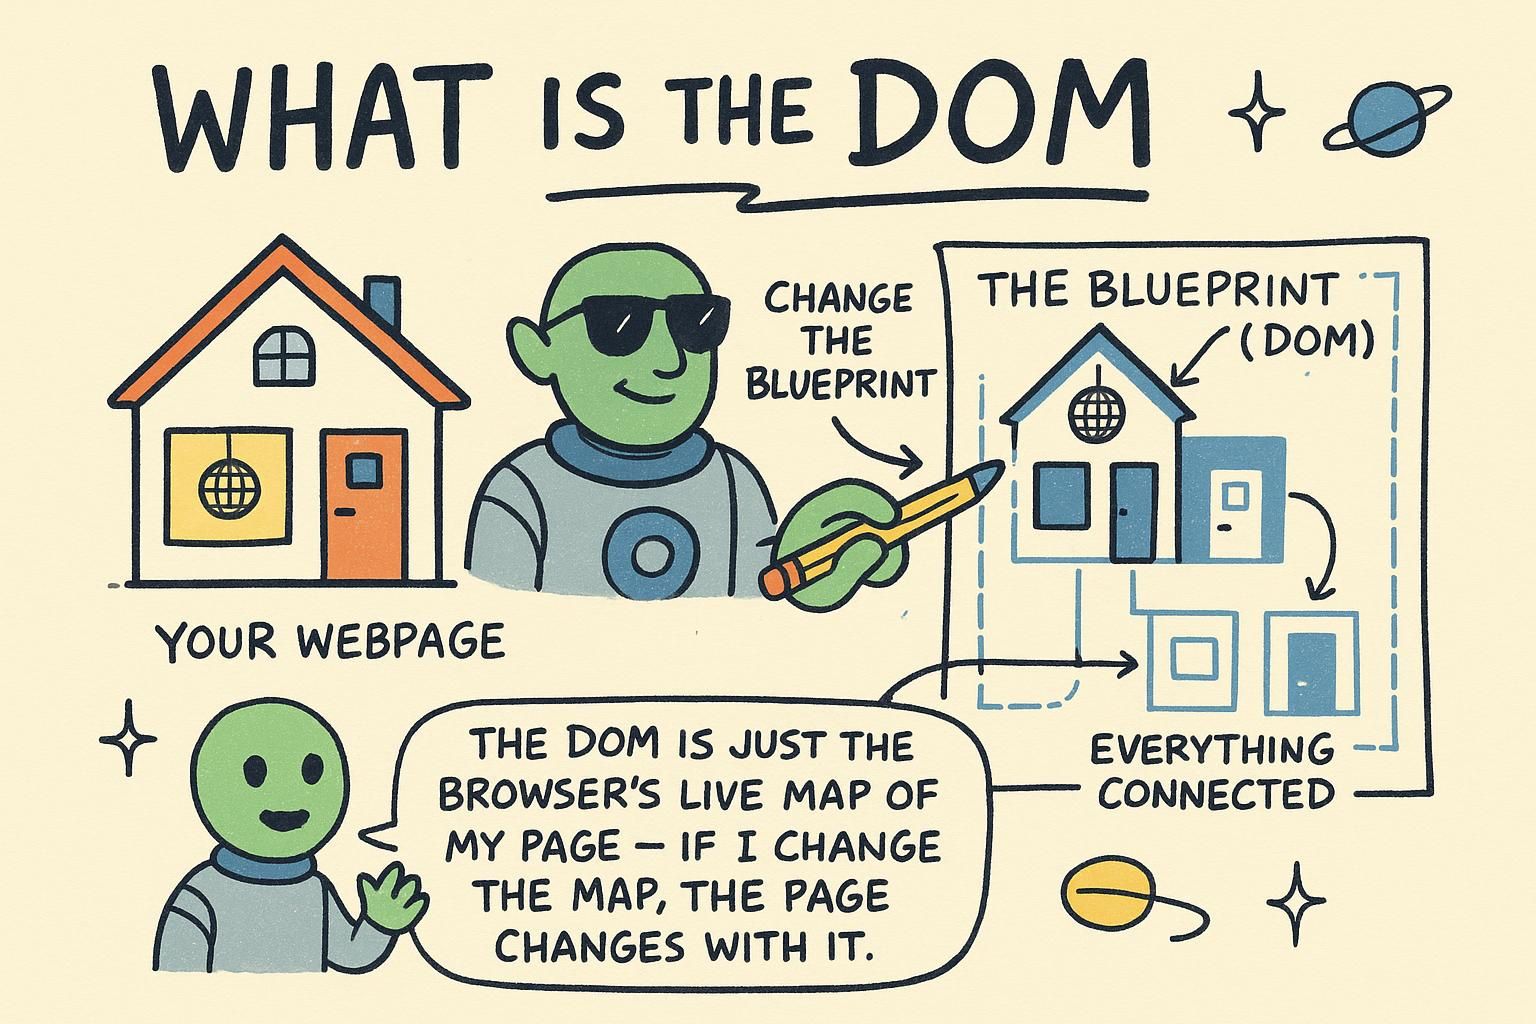
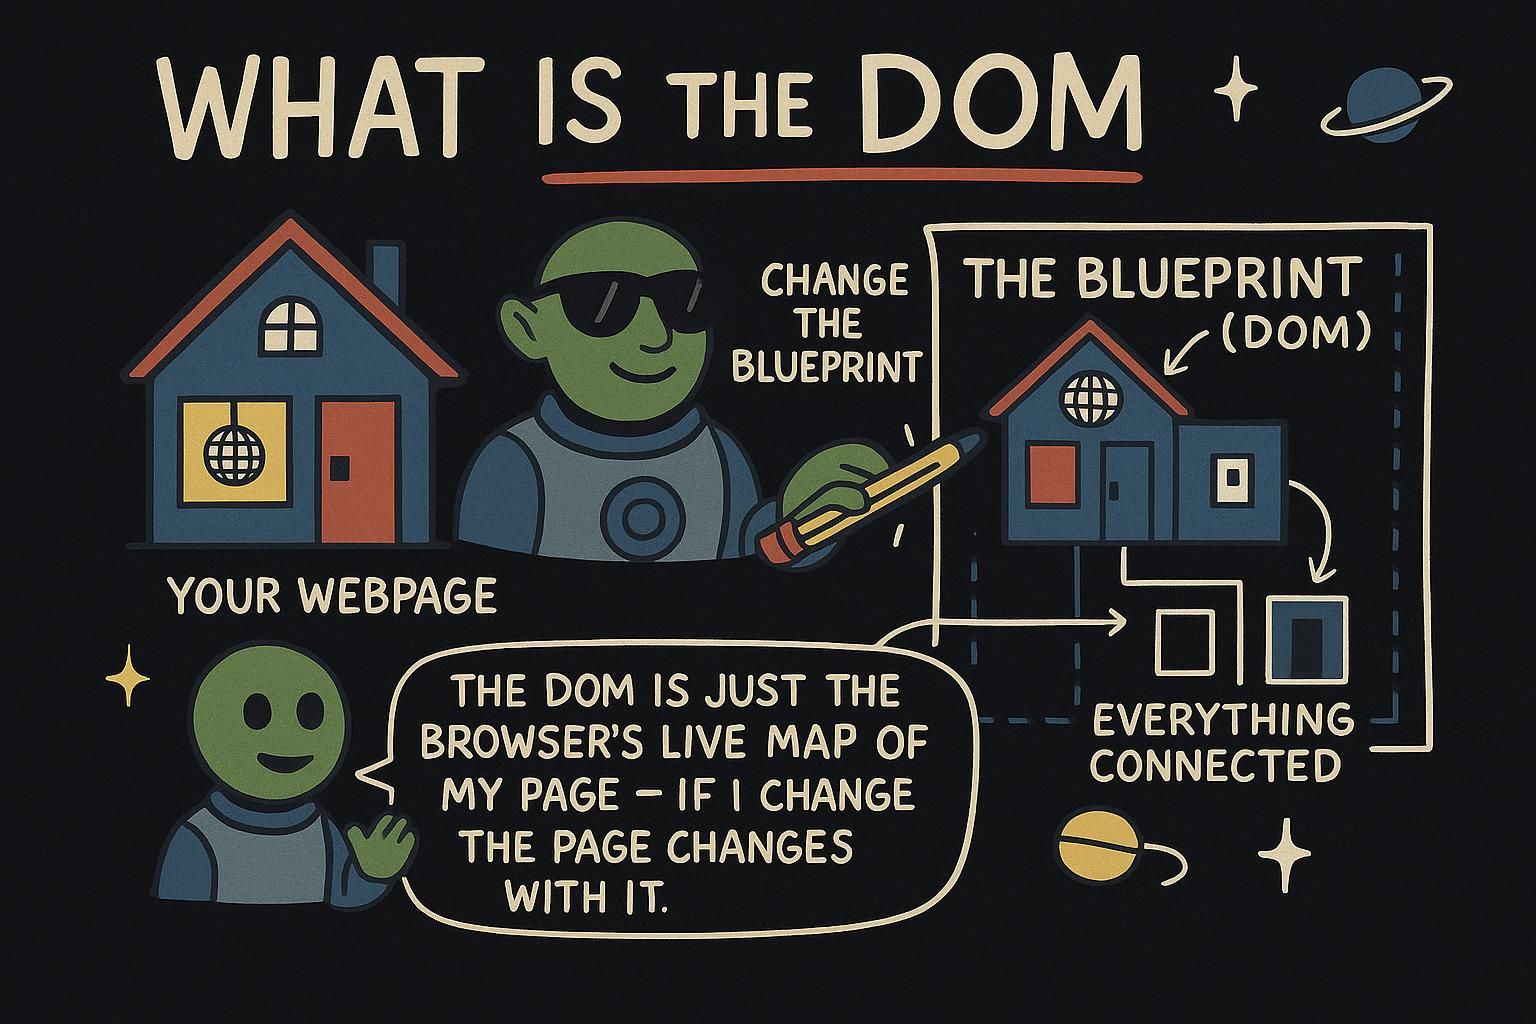
When the browser loads your page, it reads your HTML and builds a tree of objects out of it: one object for the page, one for the <body>, one for each heading, paragraph, and button inside. That tree is the DOM, short for Document Object Model. Your JavaScript can read this tree and change it, and when it does, the page you see updates straight away.

The part worth holding onto: the DOM is not your HTML file. It is the live version of the page, sitting in the browser's memory. Your .html file is the starting recipe; the DOM is the finished dish the browser is serving, and JavaScript can rearrange the plate while everyone is still eating.

The DOM (Document Object Model) is the in-memory tree the browser builds from your HTML. Every element becomes an object, nested the way your tags are nested: <body> holds a <main>, which holds a <section>, which holds a paragraph. JavaScript gets a handle on this tree through the global document, and from there it can walk the tree, read any element, and change it.

The distinction that saves you confusion later is that the DOM is separate from your source HTML. The HTML is parsed once to build the tree; after that, the tree is what is live. Change the DOM and the page updates; your original HTML file on disk never changes. That is why "view source" can look nothing like what you see on screen once JavaScript has run.

The DOM is the browser's live object model of the document: a tree of nodes (elements, text, comments, and the document itself) that the browser constructs by parsing your HTML, and that it renders from. It is a language-neutral API, exposed to JavaScript through document and the objects hanging off it, but not part of JavaScript the language; it is a browser feature the runtime provides.

The framing that matters in practice: the HTML source is an input, parsed once into the tree, and the DOM is the source of truth from then on. Read document.body.innerHTML after your scripts run and you get the current serialised tree, not the bytes you shipped. This is also why the DOM comes straight out of HTML: the tags you write define the initial tree, and everything JavaScript does is edit that tree afterward. Manipulating the DOM has a cost the source does not, because changes can trigger the browser to recompute layout and repaint, which is the thread you follow in the advanced sections below.

Every element in the DOM is an object, the same kind you met in objects, with properties you can read and change. That is the whole trick: because the page is objects, and you already know how to work with objects, changing the page is changing object properties.

JunoWhat the DOM is The browser turns your HTML into a tree of objects called the DOM, and that tree is the live page. Your HTML file is the recipe; the DOM is the meal being served, and JavaScript can change it while it is on the table. Every element is an object, so changing the page means changing object properties.
JunoWhat the DOM is The DOM is the in-memory tree the browser builds from your HTML, reached through document. It is separate from your source file: parse once, then the tree is what is live, which is why "view source" can differ from what you see. Change the tree and the page updates.
JunoWhat the DOM is The DOM is a tree of nodes the browser parses from HTML and renders from; it is a browser API, not part of the language. The source is an input parsed once, the tree is the truth after that, so innerHTML reflects the current tree, not your shipped bytes. Edits can cost layout and repaint, which is why write patterns matter later.

Selecting elements

Before you can change an element, you have to find it in the tree. You point at it the same way CSS does, with a selector, and the browser hands you back the matching object.

The workhorse is document.querySelector. You give it a CSS selector, the same kind of pattern you use in CSS, and it returns the first element that matches:

js
const card = document.querySelector(".card"); // first element with class="card"
const total = document.querySelector("#total"); // the element with id="total"

.card matches by class, #total matches by id, and a plain word like "button" matches by tag name. querySelector gives you the first match and stops there. When you want every match instead, use querySelectorAll, which returns a list you can loop over:

js
const cards = document.querySelectorAll(".card"); // all elements with class="card"
console.log(cards.length); // how many it found

If nothing matches, querySelector returns null, which is JavaScript's way of saying "there is nothing here".

document.querySelector takes any CSS selector and returns the first matching element, or null if none match. document.querySelectorAll returns all matches as a list:

js
const toggle = document.querySelector(".menu-toggle"); // first match, or null
const items = document.querySelectorAll(".card"); // every match, as a list

The selectors are full CSS, not only class and id: querySelector("nav a") finds the first link inside a nav, querySelector("input[type='email']") matches by attribute. Whatever selects it in a stylesheet selects it here.

The null return is the one to plan for. Because a miss is null, code like document.querySelector(".missing").textContent throws, since you cannot read a property of null. When an element might not exist, check first: if (toggle) { ... }.

document.querySelector(selector) returns the first element matching a CSS selector in document order, or null; document.querySelectorAll(selector) returns a NodeList of all matches. Both accept the full CSS selector grammar, so combinators, attribute selectors, and pseudo-classes all work:

js
const firstError = document.querySelector(".form .field.is-invalid input");
const externalLinks = document.querySelectorAll("a[href^='http']");

Two properties of the result are worth knowing. First, the NodeList from querySelectorAll is static: it is a snapshot taken at call time, so elements added to the page afterward do not appear in it. That is different from the older APIs (getElementsByClassName, getElementsByTagName), which return a live HTMLCollection that updates itself as the DOM changes; more on that difference in the last section. Second, scoping matters for performance and correctness: calling querySelector on an element rather than document searches only that element's subtree (card.querySelector(".title")), which is both faster on large pages and immune to matching something elsewhere. Reach for the scoped form whenever you already hold the container.

JunoSelecting elements To find an element, hand document.querySelector a CSS selector like .card or #total, and it gives you the first match. Use querySelectorAll when you want all of them as a list. If nothing matches you get null, which means "nothing here".
JunoSelecting elementsquerySelector returns the first match, querySelectorAll returns every match as a list, and both take any CSS selector you would use in a stylesheet. A miss returns null, so reading a property off it throws; guard with if (element) when the element might not be there.
JunoSelecting elements Both methods take full CSS selectors; querySelectorAll hands back a static NodeList, a snapshot that will not see later additions. Call querySelector on an element, not document, to search only its subtree, which is faster and avoids matching something across the page. And remember a miss is null.

Reading and changing elements

Once you hold an element, you read and change it through its properties, the same way you read and change any object. This is where the page actually starts moving.

The property you will use most is textContent, the text inside an element. You can read it or set it:

js
const total = document.querySelector("#total");
total.textContent = "42 items"; // the page now shows "42 items"

To change how something looks, you usually add or remove a class and let CSS do the styling. classList has three methods for that:

js
const card = document.querySelector(".card");
card.classList.add("selected"); // add a class
card.classList.remove("selected"); // take it away
card.classList.toggle("selected"); // add if missing, remove if present

You can also set a single style directly through .style, and set an attribute like src or href with setAttribute:

js
card.style.color = "crimson"; // one inline style
const avatar = document.querySelector(".avatar");
avatar.setAttribute("src", "priya.jpg"); // set the image source

Reach for classList first and .style only for one-off tweaks, because keeping your styling in CSS keeps it in one place.

textContent reads and writes the text inside an element. classList toggles classes so styling stays in your CSS. .style sets individual inline styles, and setAttribute sets any attribute:

js
const badge = document.querySelector(".badge");
badge.textContent = `${count} new`; // set the text
badge.classList.toggle("is-hidden", count === 0); // toggle with a condition
badge.setAttribute("aria-label", `${count} new messages`); // set an attribute

classList.toggle takes an optional second argument: a boolean that forces the class on when true and off when false, which is cleaner than an if/else around add and remove.

The caution worth stating early: there is also innerHTML, which sets an element's content as raw HTML, tags and all. It is tempting because it looks flexible, but use textContent, not innerHTML, for any text that came from a user. Setting innerHTML from user input lets that input inject real HTML into your page, which is a security hole. When you are setting plain text, textContent is the right tool anyway.

The reading-and-writing surface is broad, but four properties carry most work: textContent for text, classList for state classes, .style for computed one-off styles, and setAttribute for attributes. Prefer classList over .style so presentation lives in CSS and JavaScript only flips state classes (classes like is-open or is-loading that your stylesheet then styles):

js
const panel = document.querySelector(".panel");
panel.classList.toggle("is-open", shouldOpen);
panel.setAttribute("aria-expanded", String(shouldOpen)); // attributes are strings

The sharp edge is innerHTML. Setting it parses the string as HTML and builds real nodes from it, so any markup in that string becomes live: a <script> or an onerror handler in user-supplied text runs in your page. That is cross-site scripting (XSS): injecting executable content through data you treated as text. textContent never parses HTML; it sets text and only text, so it is the safe default and the faster one, since the browser skips the HTML parse. Restrict innerHTML to markup you fully control, and never build it by concatenating user input. When you need to insert user data into structured markup, set the structure with safe methods and drop the untrusted value in through textContent, which is the pattern the next section builds toward.

One more note on attributes: setAttribute writes the HTML attribute (a string), while many elements also expose a live property that can differ. input.value reflects what the user has typed right now; input.getAttribute("value") returns the original default from the markup. For form fields, read the property, not the attribute.

JunoReading and changing elements Set the text inside an element with textContent, and change its look by adding or removing a class with classList.add, remove, and toggle. Use .style for a one-off tweak and setAttribute for things like an image source. Lean on classes so your styling stays in your CSS.
JunoReading and changing elementstextContent for text, classList for state classes, .style for one-offs, setAttribute for attributes; classList.toggle even takes a boolean to force it on or off. Steer clear of innerHTML for anything a user typed, since it injects real HTML into your page. For plain text, textContent is the right tool regardless.
JunoReading and changing elements Flip state classes with classList and keep the styling in CSS; use setAttribute for attributes, remembering they are strings. innerHTML parses its string as live HTML, so user data in it is an XSS hole; textContent never parses and is both safe and faster. And for form fields read the live value property, not the attribute.

Creating and removing elements

Changing elements that already exist gets you far, but sometimes there is nothing there yet: a to-do you are adding, a search result arriving. For that you build new elements and put them into the tree, and take old ones out.

You make a new element with document.createElement, give it some content, then add it to the page with append:

js
const list = document.querySelector(".todo-list");
const item = document.createElement("li"); // a new <li>, not on the page yet
item.textContent = "Buy oat milk"; // give it some text
list.append(item); // now it shows up, at the end of the list

A new element from createElement exists only in memory until you append it somewhere; that is the step that puts it on the page. To take an element off the page, call remove on it:

js
item.remove(); // gone from the page

document.createElement(tag) builds an element, append adds it as the last child of a parent, and remove takes an element out of the tree:

js
const list = document.querySelector(".todo-list");
const item = document.createElement("li");
item.textContent = "Buy oat milk"; // safe: text, not parsed as HTML
item.classList.add("todo-item");
list.append(item); // attach it to the page

Set the text with textContent before appending, not by building an HTML string, so user-entered text can never inject markup. append also accepts plain strings and several nodes at once (list.append(item, "or", another)), which is handy for mixed content.

A detail that catches people: creating an element does nothing visible on its own. It sits in memory until you attach it to something already in the tree. Until then it is real but offscreen, which is exactly the property the advanced section uses to build efficiently.

createElement builds a detached node, append inserts nodes (or strings) as the last children of a parent, and remove detaches a node from the tree. The efficiency question is the interesting one, because inserting into the live tree can cost.

Each time you change the DOM in a way that affects geometry, the browser may need to recompute positions and sizes (reflow, also called layout) and then repaint. Do that inside a loop, appending one node per iteration to the live page, and you can trigger that work repeatedly. The fix is to build off-DOM and insert once. A DocumentFragment is a lightweight, offscreen container for exactly this: you append nodes into the fragment (which is not in the live tree, so no reflow), then append the fragment once, which moves its children in as a single operation:

js
const list = document.querySelector(".results");
const fragment = document.createDocumentFragment(); // offscreen container

for (const name of names) {
  const li = document.createElement("li");
  li.textContent = name; // safe insertion of user data
  fragment.append(li); // no reflow: fragment is off-DOM
}

list.append(fragment); // one insertion into the live tree

Appending the fragment empties it into the parent, so the fragment itself does not appear in the DOM; only its children do. The same principle drives a broader habit: batch DOM writes. Reading a layout property (like offsetHeight) forces the browser to flush pending layout, so interleaving reads and writes in a loop causes layout thrash, repeated forced reflows. Group your reads, then group your writes. For a handful of nodes none of this matters; for hundreds it is the difference between smooth and janky.

JunoCreating and removing elements Build a new element with document.createElement, give it text with textContent, and put it on the page with append. A fresh element lives only in memory until you append it, so that step is what makes it show up. To take one off the page, call remove on it.
JunoCreating and removing elementscreateElement builds it, append attaches it as the last child, remove takes it out. Set text with textContent before appending rather than building an HTML string, so nothing a user typed can inject markup. Remember a created element stays invisible until you attach it to something already on the page.
JunoCreating and removing elements Appending to the live tree in a loop can trigger reflow each time; build in a DocumentFragment off-DOM and append it once so the children move in together. Reading a layout property mid-loop forces layout and causes thrash, so batch your reads and then your writes. For a few nodes it is moot; for hundreds it is smooth versus janky.

Where the DOM goes from here

Selecting, reading, changing, creating, and removing cover most of what JavaScript does to a page, and all of it is the same move underneath: find an object in the tree and change its properties. Because the DOM is objects, everything you learned in objects applies directly here, and the small set of methods in this chapter (querySelector, textContent, classList, createElement, append) is most of the toolkit.

What is missing so far is timing. Every example here runs once, top to bottom, but a real page changes in response to what the reader does: a click, a keystroke, a submitted form. Wiring your DOM changes to those moments is events, the next chapter, where addEventListener connects "the user did this" to "so the page does that". Once selecting and changing sit alongside responding to events, you can build the interactive pages the rest of this handbook is aimed at.