

 Learn HTML & CSS
CSS selectors
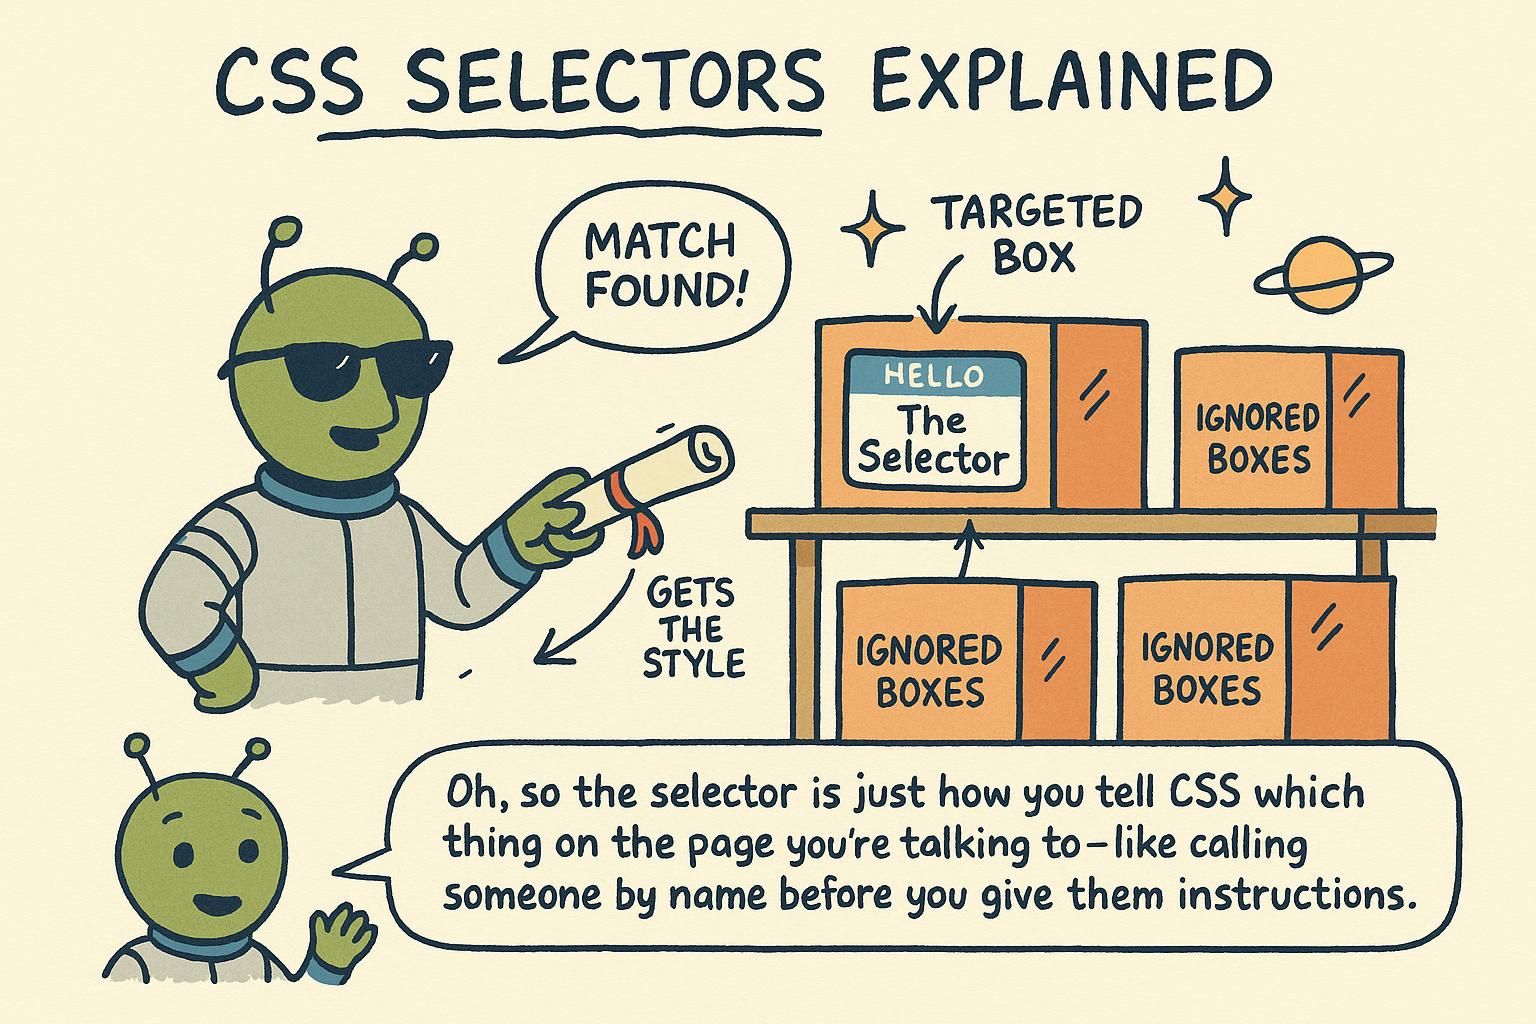
You have a page full of elements and a set of styles you want to apply, but a colour or a font is no use until you can say which elements it belongs to. A selector is how you point at the right ones: this paragraph, every button, only the links inside the nav. Get comfortable with selectors and the rest of CSS becomes a matter of choosing what to change, because you already know how to reach it.
Type, class, and id selectors
A CSS rule has two parts: a selector that picks which elements to style, and a block of declarations that says how. The simplest selector is the element's name, called a type selector. Write p and every paragraph on the page is styled.
That is often too broad. You rarely want all paragraphs to look the same. So you give elements a label called a class, using the HTML class attribute, and target that label from CSS with a dot in front of it. Think of a class like a name tag: you pin the same tag on every element you want to treat as a group, then style the tag once.
<button class="btn-primary">Sign up</button>
<button class="btn-primary">Buy now</button>/* type selector: every button on the page */
button {
font-family: inherit;
}
/* class selector: only elements tagged btn-primary */
.btn-primary {
background: rebeccapurple;
color: white;
}Both buttons pick up the .btn-primary styling from one rule, because they share the class. That reuse is the whole reason classes are the tool you reach for. This builds directly on how CSS works, where each rule pairs a selector with a set of declarations.

p hits every element of that kind, which is usually more than you want. A class is a name tag you pin on the elements you care about and style with a dot, like .btn-primary. Start with classes for almost everything and you will not go far wrong. Combinators: selecting by relationship
Sometimes you want to style an element only when it sits inside another one. The links in your navigation should look different from links in a paragraph, even though both are <a> elements. You describe that relationship with a combinator: put two selectors side by side with a space, and CSS reads it as "the second one, but only inside the first".
So .nav a means "any link inside an element with the class nav". The space is doing real work here. It is not decoration, it is the instruction to look inside.
/* descendant: any link inside the nav */
.nav a {
  text-decoration: none;
}

/* child: only list items that are direct children of .menu */
.menu > li {
  display: inline-block;
}
The first rule reaches every link nested inside the nav; the second reaches only the top-level items of the menu and leaves any nested list alone. Choosing between them is choosing how far down you want the rule to travel.
.nav a styles links that sit inside the nav. That space is an instruction, not spacing for looks, so do not drop it by accident. This one pattern covers a lot of everyday styling. Pseudo-classes: styling by state
Elements can be in different states. A link can be sitting still or have the mouse hovering over it. A pseudo-class lets you style an element based on its state, and you write it with a single colon after the selector.
The one you will use first is :hover. Write .btn-primary:hover and those styles apply only while the pointer is over the button, which is how buttons and links give that little visual response when you point at them.
.btn-primary:hover {
  background: purple;
}

/* keyboard users need a visible focus indicator */
.btn-primary:focus-visible {
  outline: 2px solid rebeccapurple;
  outline-offset: 2px;
}
The first rule fires while the pointer is over the button; the second draws a clear ring when the button is selected by keyboard, which is what keeps the page usable without a mouse. Colour and outline choices here connect to how CSS works and the values you set on any property.
:hover for when the pointer is over it. That is where a button's hover effect comes from. You attach it right onto the selector, no space in between. Pseudo-elements: styling a part of an element
A pseudo-class styles a whole element in a certain state. A pseudo-element is different: it lets you style a part of an element, or add a small piece of content that is not in your HTML at all.
The two you will meet first are ::before and ::after. They insert content at the start or end of an element, and you tell them what to insert with the content property. Notice the two colons: that double colon is how CSS marks a pseudo-element apart from a pseudo-class.
/* add a decorative arrow after every nav link */
.nav a::after {
  content: " →";
  color: rebeccapurple;
}

/* style the hint text inside a search box */
.search-input::placeholder {
  color: grey;
  font-style: italic;
}
The ::after rule inserts an arrow that lives only in the styling, not in the HTML, while ::placeholder reaches inside the input to style text the browser draws for you. Both style something you could not otherwise reach with a plain selector. If you are styling hint text and labels, the typography chapter goes deeper on the text side.
::before and ::after. Those two need a content property to show up. The double colon is the quick way to tell a pseudo-element from a pseudo-class. Specificity: which rule wins
Sooner or later two rules will try to style the same element in different ways. One says the text is blue, another says it is red. The browser has to pick one, and the way it decides is called specificity: the more specific selector wins.
The short version is an order of strength. An id selector beats a class selector, and a class selector beats a type selector. So if #header and .title both set a colour on the same element, the id wins. When two rules are equally specific, the one written later in the file wins.
/* type selector, specificity (0, 0, 1) */
p {
  color: grey;
}

/* class selector, specificity (0, 1, 0): this one wins */
.intro {
  color: black;
}<p class="intro">This paragraph is black, because the class rule outranks the type rule.</p>Both rules target the paragraph and both set color, but the class selector is more specific than the type selector, so the paragraph is black. Nudging one selector up or down the specificity ladder is often all it takes to settle a conflict without resorting to heavier tools. The box model chapter runs into the same cascade when spacing rules collide.