
Skip to content

Form validation

docs.scrimba.com

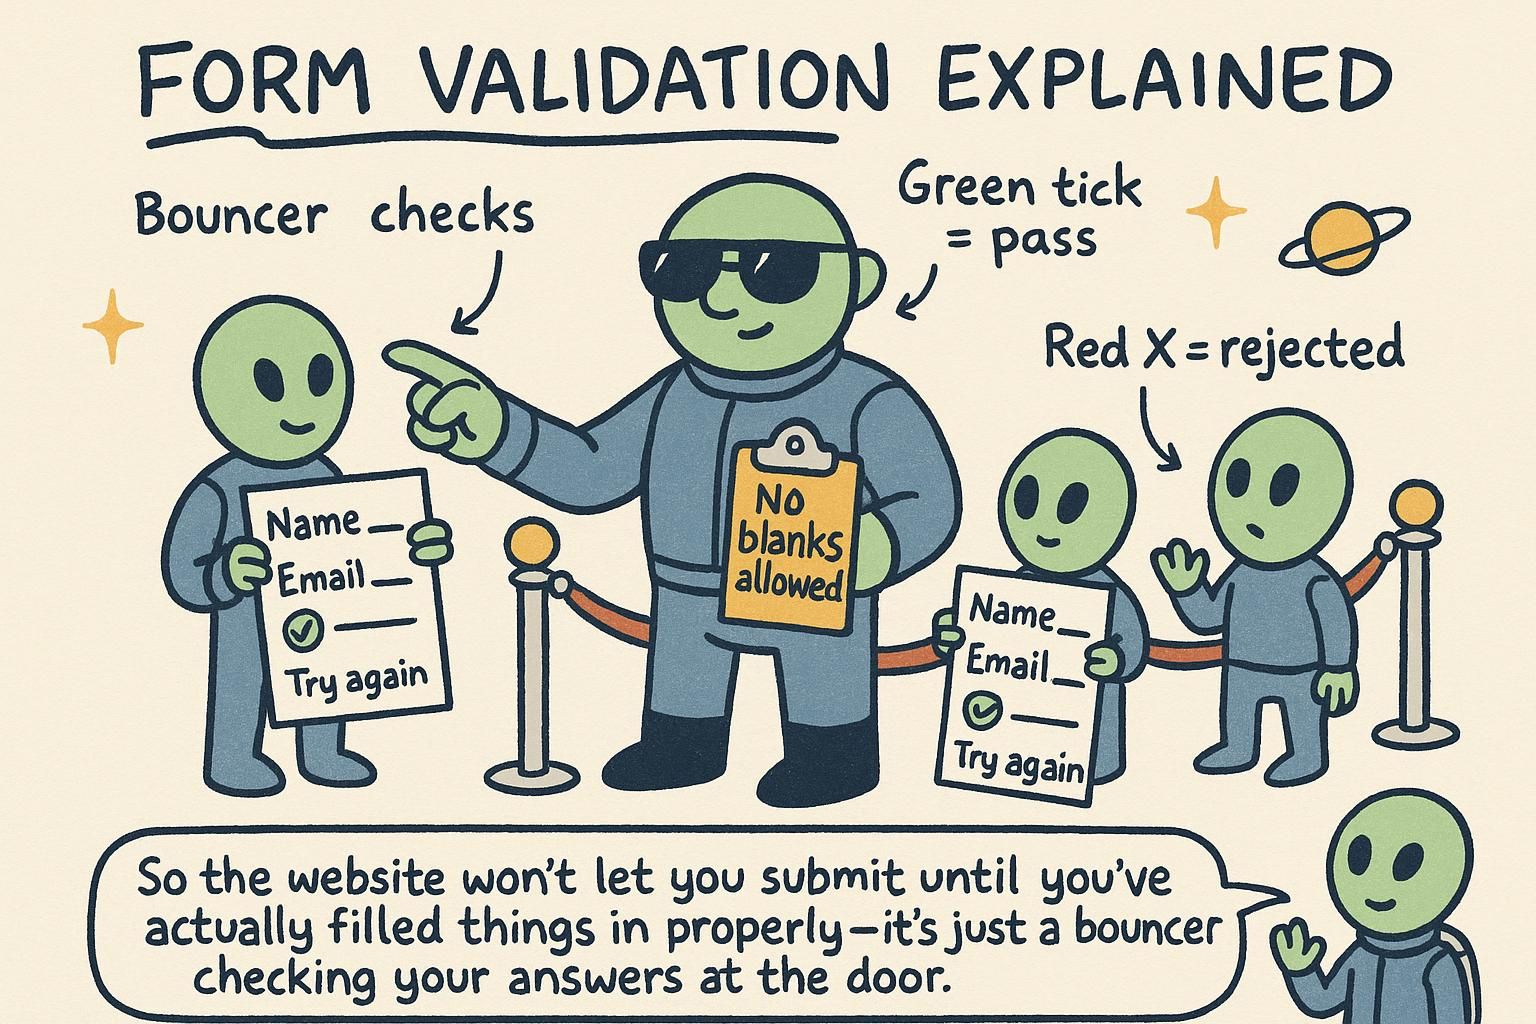
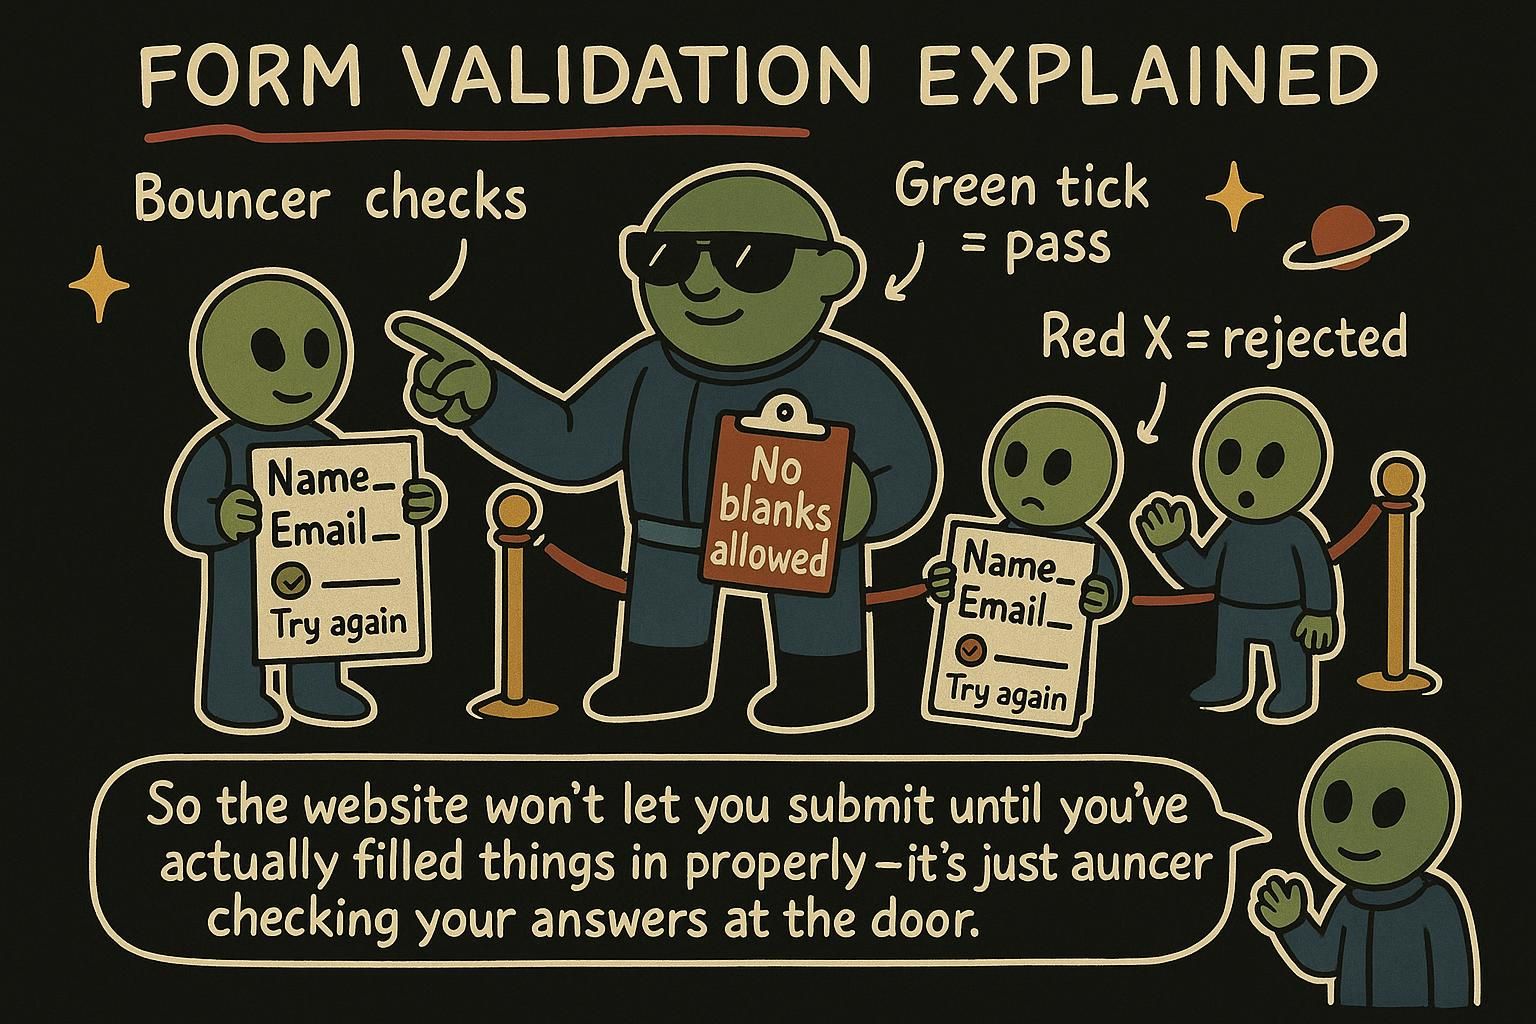
A form collects input from people, and people leave fields blank, mistype an email, or put letters where a number belongs. You do not want that data reaching your code untouched. Before anything is submitted, the browser can check a lot of it for you, but only if you describe what each field expects. That description is written straight into your HTML, and this chapter is about how to write it.

Required fields and input types

The two cheapest checks you can add are saying that a field must be filled in at all, and saying what kind of value belongs in it.

Add the word required to an input and the browser refuses to submit the form until that field has something in it. You do not write any code to make this happen. The attribute is the instruction.

html
<input type="text" name="full_name" required>

The other half is the type attribute. It tells the browser what shape the value should be, and the browser checks it for you. Use type="email" and the browser makes sure the value looks like an email address. Use type="number" and it only accepts numbers. There is a type for dates, one for web addresses, and more.

Think of it like a form at a doctor's office where some boxes are marked "must fill in" and the date box already has little slots for day, month, and year. The paper is telling you what goes where before you write a thing.

required is a boolean attribute: its presence alone turns the rule on, and it takes no value. A control marked required blocks form submission while it is empty.

The type attribute does double duty. It picks the control the browser renders (a date picker, a number spinner) and it sets a built-in constraint on the value:

  • type="email" requires an @ and a domain-shaped tail.
  • type="url" requires something that parses as an absolute web address.
  • type="number" accepts only numeric input and unlocks min, max, and step.
  • type="tel" does not constrain the value, but it brings up a phone keypad on mobile.

Reach for the specific type before you reach for anything else. It is the least code for the most checking, and it improves the on-screen keyboard people get on touch devices.

required and type are the first two layers of what the platform calls constraint validation: the browser's built-in system for checking a control's value against rules you declare in markup. required sets the "value missing" rule. type sets a format rule tied to that type.

Two production notes on type. First, type="email" does not validate against the full email specification. Browsers use a deliberately permissive pattern (a run of characters, an @, then a dot-separated domain) because a stricter check would reject addresses that are actually deliverable. Treat it as a shape check, not proof the address exists. Second, an unknown or unsupported type falls back to type="text", so a field never becomes unusable on an older browser, it only loses the extra checking. That graceful fallback is why you can adopt newer types without a compatibility table in hand.

The type also drives the on-screen keyboard and, through the related inputmode attribute (a hint for which keyboard layout to show without changing validation), you can tune that keyboard independently. Getting the type right is an accessibility and ergonomics decision as much as a validation one.

Here is a small sign-up form using both attributes:

html
<form>
  <label>
    Email address
    <input type="email" name="email" required>
  </label>
  <label>
    Website
    <input type="url" name="website">
  </label>
  <button>Sign up</button>
</form>

The email field must be filled in and must look like an email. The website field is optional, but if someone types anything, it has to look like a web address. The browser checks both the moment the button is pressed.

JunoRequired fields and input types Two small words do a lot of work here. Put required on a field and the browser will not let an empty one through. Set the type, like email or number, and it checks the value is the right shape. Pick the type that matches the field and you get checking for free.
JunoRequired fields and input typesrequired is a boolean attribute: it is either there or it is not, no value needed. The type both picks the control and sets a format rule, so type="email" wants an @ and a domain. Always start with the most specific type; it is the smallest markup for the most checking, and mobile keyboards get better too.
JunoRequired fields and input types These are the first two layers of constraint validation, the browser's built-in rule checker. Worth remembering: type="email" is a loose shape check, not proof the address is real, and an unsupported type quietly falls back to text rather than breaking. Choosing the type is an accessibility call as well, since it sets the on-screen keyboard people get.

Constraint attributes

Beyond "filled in" and "right type", you often want limits: a value at least this long, a number no larger than that, a code in a set format. A handful of attributes cover this.

You can set limits on what a field accepts. Two useful ones to start with:

html
<input type="text" name="username" maxlength="20">
<input type="number" name="quantity" min="1" max="10">

maxlength="20" stops the field once it holds twenty characters. min and max set the smallest and largest numbers allowed. The browser holds people to these bounds so you do not have to check them yourself.

There is a small set of constraint attributes, and each maps to one rule:

  • minlength / maxlength set the fewest and most characters a text value may have.
  • min / max set the lowest and highest value for numbers and dates.
  • step sets the allowed increment for a number, so step="5" accepts 0, 5, 10, and rejects 3.
  • pattern holds a regular expression (a compact notation for describing the exact shape of allowed text) that the value must match in full.
html
<input type="text" name="username" minlength="3" maxlength="20" required>
<input type="number" name="quantity" min="1" max="10" step="1">
<input type="text" name="pin" pattern="[0-9]{4}" title="Four digits">

Pair pattern with a title: some browsers show its text in the error message, and it tells sighted users what the field expects. In CSS, :valid and :invalid let you style a control based on whether it currently passes its constraints.

Each constraint attribute corresponds to one flag the browser can raise about a control, which matters once you read validation state from JavaScript. min violated raises "range underflow", maxlength exceeded raises "too long", pattern mismatch raises "pattern mismatch", and so on. The attribute is the declaration; the flag is how the result is reported.

Two details that trip people up. pattern is implicitly anchored: the expression must match the entire value, as if it were wrapped to cover start to end, so pattern="[0-9]{4}" means exactly four digits, not "contains four digits". And step is measured from a base (the min, or zero if there is none) using floating-point arithmetic, so step="0.1" can reject a value you expect to pass because of how binary represents decimals; when precision matters, set an explicit min as the base.

The :valid and :invalid pseudo-classes (CSS selectors that match an element based on its state rather than its position) are useful but blunt: an empty required field matches :invalid from the very first paint, so styling it red greets the user with errors before they have typed anything. The fix is :user-invalid, which only matches after the person has interacted with the field, so feedback arrives when it is useful rather than on arrival.

The rule that saves the most confusion: a pattern must match the whole value, not only part of it.

html
<input
  type="text"
  name="product_code"
  pattern="[A-Z]{2}-[0-9]{3}"
  title="Two letters, a hyphen, three digits, e.g. AB-123"
  required
>
JunoConstraint attributes Once a field is required and typed, you can add limits. maxlength caps how many characters go in, and min and max fence in a number. The browser keeps people inside those bounds automatically, which is a lot of checking you never have to write.
JunoConstraint attributes The set is small: minlength/maxlength for text, min/max for numbers and dates, step for increments, and pattern for an exact shape. Give pattern a title so the message means something. And pattern matches the whole value, so [0-9]{4} is four digits total, not four digits somewhere inside.
JunoConstraint attributes Each attribute maps to one validity flag you can read later, so the markup and the reporting line up. Two gotchas: pattern is anchored end to end, and step uses floating-point maths from a base, so set an explicit min when precision counts. Style with :user-invalid, not :invalid, or you will paint an untouched field red before anyone types.

Native validation feedback

Declaring the rules is half the story. The other half is what the person sees when a value breaks one.

When someone presses the submit button and a field is wrong, the browser stops the submission and shows a small message next to the first field with a problem, then jumps the cursor to it. You do not build this message. The browser writes it, in the visitor's own language, and shows it automatically.

So a required email field left blank produces something like "Please fill in this field", and the form does not send until it is fixed.

Validation fires on submit. The browser walks the controls in order, finds the first invalid one, focuses it, and shows a small message bubble describing the problem. If everything passes, the form submits as normal.

You get some styling control through CSS. :required, :valid, :invalid, and :in-range let you mark fields visually. What you cannot easily restyle is the message bubble itself, its look is the browser's, not yours. You can also switch the whole system off for a form with the novalidate attribute, which is useful when you intend to validate entirely in JavaScript.

css
input:user-invalid {
  border-color: #c0392b;
}
input:user-valid {
  border-color: #2d7a3f;
}

The native feedback is convenient and almost free, and it comes with limits worth planning around before you rely on it in a shipped product.

The message bubble is a transient element: it appears on submit, vanishes on the next interaction, and is not part of the document you can select or style. Screen reader support for it is uneven across browsers, so a bubble alone is not a dependable way to announce an error to someone who cannot see it. Its text is also localised to the browser's language, not your page's lang, so a form written in English can show a French error message to a visitor whose browser is set to French. That is correct for the user and surprising for the developer.

You can trigger the same flow yourself without submitting: reportValidity() runs the checks and shows the bubbles on demand. But for anything beyond a quick prototype, the accessible pattern is to suppress the native bubble (with novalidate) and render your own error text in the page, tied to the field, so it is visible, stylable, and reliably announced. The next section covers how.

JunoNative validation feedback Here is the payoff for all those attributes: press submit with a bad field and the browser pops up a little message, points you at the field, and refuses to send. You wrote none of that text; the browser did, in the visitor's language. For a lot of forms, this is all the feedback you need.
JunoNative validation feedback Checking runs on submit: first bad field gets focus and a message bubble, and the form is held back until it passes. You can style the fields with :user-valid and :user-invalid, but the bubble itself is the browser's to design. Turn the whole thing off with novalidate when you plan to handle it in JavaScript.
JunoNative validation feedback The bubble is transient and unstyleable, its screen reader support is patchy, and its text follows the browser's language, not your page's. Fine for a prototype, thin for production. When accessibility matters, add novalidate and render your own error text in the page so it can be seen, styled, and announced properly.

When you still need JavaScript

Native validation checks one field against its own rules. Plenty of real checks do not fit that shape, and those are where JavaScript comes in.

Some things the browser cannot check on its own. Whether two password fields match each other. Whether a username is already taken by someone else. Whether a discount code is real. None of these are about one field's shape, so there is no attribute for them, and you reach for JavaScript to do the checking.

That is not a failing of HTML. The built-in checks handle the common cases with no code, and JavaScript handles the rest.

The gap is anything that depends on more than one field, or on information the page does not have yet. A common example is confirming two passwords match. You compare them in JavaScript and feed the result back into the native system with setCustomValidity, which sets a custom error message on a control (an empty string means "this is valid"):

html
<input type="password" id="password" name="password" required>
<input type="password" id="confirm" name="confirm" required>

The comparison itself runs in a <script>:

js
const password = document.querySelector("#password")
const confirm = document.querySelector("#confirm")

confirm.addEventListener("input", () => {
  // empty string clears the error and marks the field valid
  const message = confirm.value === password.value ? "" : "Passwords do not match"
  confirm.setCustomValidity(message)
})

The field now takes part in native validation like any other, blocking submission and showing your message when the passwords differ. Checks that need a server, like username availability, follow the same shape but set the message after a network request comes back.

JavaScript reaches native validation through the Constraint Validation API (the set of properties and methods the browser exposes on form controls for reading and setting validity). The pieces you use most:

  • setCustomValidity(message) sets a custom error string on a control. A non-empty string marks it invalid and becomes its message; an empty string clears the custom error.
  • validity is a read-only ValidityState object: one boolean per possible failure (valueMissing, typeMismatch, patternMismatch, rangeOverflow, tooLong, customError, and so on), plus valid for the overall result. Read it to find out why a field failed, not only that it did.
  • checkValidity() returns true or false without showing anything; reportValidity() does the same and displays the native bubbles.

For accessible errors, colour is never enough on its own: a red border says nothing to a screen reader or to someone who cannot distinguish red from green. Associate the error text with its field so assistive technology reads them together. Set aria-describedby on the input to the id of the error element (this tells a screen reader "read this text as the field's description"), and set aria-invalid="true" while the field is failing (this announces the field as being in an error state):

html
<input
  type="text"
  id="username"
  name="username"
  aria-describedby="username-error"
  aria-invalid="true"
  required
>
<p id="username-error" role="alert">That username is already taken.</p>

The role="alert" makes a screen reader announce the message as soon as it appears. The Accessibility chapter goes deeper on associating controls with their descriptions.

That leaves the trade-off. Native validation is less code, is consistent with the platform, and works before your script loads, but its feedback is hard to style and announce. Custom validation is more code and more responsibility, but gives you full control over wording, timing, and accessibility. Most production forms use both: native attributes as the baseline, JavaScript layered on for the checks and the messaging attributes cannot reach.

Whichever you choose, one rule does not bend. Client validation is a convenience, never a guarantee. Everything described in this chapter runs in the visitor's browser, where anyone can switch it off, edit the page, or send a request straight to your server without touching the form at all. The server must revalidate every value it receives as if no browser check ever happened. Treat the browser's checks as a fast, friendly first pass that spares your users a round trip, and treat the server as the check that actually protects your data.

JunoWhen you still need JavaScript The built-in checks cover one field at a time, so anything comparing fields, like "do these two passwords match", or checking with a server, like "is this username free", needs JavaScript. That is normal. HTML handles the everyday cases for free, and JavaScript picks up the ones it cannot see on its own.
JunoWhen you still need JavaScript When a check spans two fields or needs the server, compute it in JavaScript and hand the result back with setCustomValidity: a message string to fail the field, an empty string to clear it. The field then joins native validation like any other. Password match and username availability are the classic two.
JunoWhen you still need JavaScript The Constraint Validation API is your hook: setCustomValidity to set a message, validity to read why a field failed, checkValidity and reportValidity to run the checks. For accessible errors, tie the text to the field with aria-describedby and aria-invalid, never colour alone. And the one that is not optional: every check here runs in the browser, so the server has to revalidate all of it.