

 Learn Git and GitHub
Your first repository
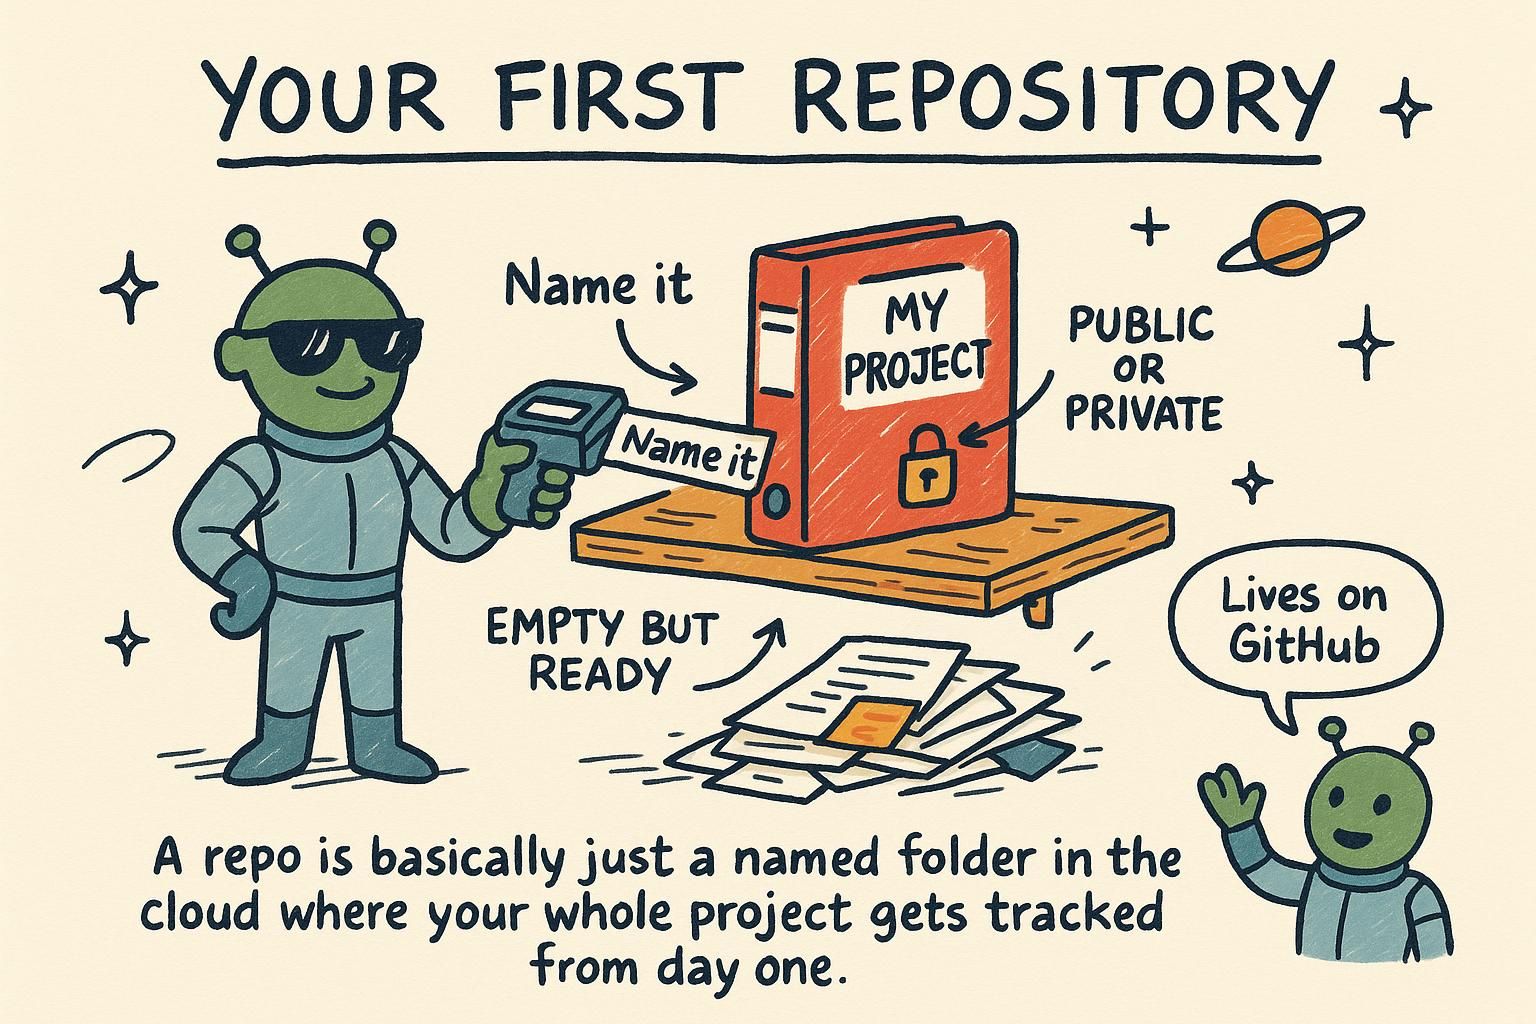
There are two ways you usually end up here. Either you have a project folder already, a weather-app you have been building locally, and you want Git to start recording its history. Or someone else already built the project, it lives on GitHub, and you want your own working copy on your machine. Both start with three small commands, and by the end of this chapter you will have used all three for real. First, though, a check that takes ten seconds: making sure Git is on your machine at all.
Do you have Git installed?
Everything in this handbook happens in the terminal, so the first stop is getting one open. A terminal is an app where you type commands as text and programs reply in text. It is already on your computer:
- macOS: the app is called Terminal. Press Cmd+Space, type "terminal", and press Enter.
- Windows: open PowerShell for now (search "powershell" in the Start menu). Installing Git below also adds Git Bash, a terminal built for exactly this, and either one runs the same Git commands.
- Linux: look for an app named Terminal or Console; Ctrl+Alt+T opens it on many distributions.
Git itself is a command-line program: it has no window of its own, and you use it by typing commands that start with the word git and reading what it prints back. That is also how to read every code block in this handbook: the line starting with $ is the command you type (without the $ itself), and the lines below it are Git's reply.
So, the check. Type this into your terminal and press Enter:
$ git --version
git version 2.45.1
A version number back means Git is installed and you are set. Your number will likely differ from this one, and that is fine. If you instead see "command not found" or "git is not recognized", Git is not on your machine yet, and installing it is a one-time job:
- macOS: running
git --versionusually opens a dialog offering to install Apple's Command Line Tools. Accept it, and macOS installs Git for you. - Windows: download Git for Windows from git-scm.com/downloads and run the installer. The defaults are all reasonable choices, and it installs Git Bash along the way.
- Linux: install the
gitpackage with your distribution's package manager, for examplesudo apt install giton Ubuntu and Debian.
Once the install finishes, close your terminal, open a fresh one, and run git --version again. A version number means you are done with setup for good; nothing in the rest of this handbook needs installing.

git --version tells you whether it is on your machine: a version number means you are set, and "command not found" means install it from git-scm.com or your system's installer. You only ever do this part once. Setup is the least fun part of any handbook, so well done getting through it! Turning a folder into a repository
Open a terminal and move into your project folder with cd (short for "change directory"), then run one command, git init:
$ cd weather-app
$ git init
Initialized empty Git repository in /Users/mara/projects/weather-app/.git/
That folder is now a repository: a project Git watches, ready to record snapshots of it as you work. git init does the same thing every time. It looks for a hidden .git folder, creates one if it is missing, and from that point on the folder is under Git's watch.
A new repository's default branch is named main. If you land in an older tutorial, an older repository, or a course recorded a few years back, you will see master used for the exact same thing: it is the same first branch under an older name. This handbook always uses main.
What is a branch?
A branch is a separate line of history for your commits to land on, and main is the one every new repository starts with. Branches covers creating and switching between them.
git init turns any folder into a Git repository, ready for Git to start tracking it. Run it once inside a project folder and you are set, and running it again later does no harm. New repositories default to a branch called main, though older ones you find out in the wild are often called master for the same thing. Telling Git who you are
Before your first commit, Git wants to know who is making it. Set two values once, and Git remembers them for every commit you make on this machine:
$ git config --global user.name "Mara Chen"
$ git config --global user.email "[email protected]"
Every commit you create gets stamped with that name and email. Skip this step, and Git falls back to something guessed from your computer's username and hostname, so your commits carry an identity you never chose.
Set your name and email before your first commit. Commit first and set them after, and the mistake gets baked into that commit's history. Worse, some hosts (GitHub included) match commits to your account by email, so a commit made under the wrong address or a guessed one shows up as an anonymous stranger's work instead of yours.
git config --global user.name and git config --global user.email set the name and email Git stamps on every commit you make. Set them before your first commit, because a commit made before you set your email gets attributed to a guessed identity, and a host like GitHub may not connect it to your account at all. Do it once and every repository on your machine remembers it. Copying an existing project with git clone
Sometimes the project already exists somewhere else, and you want a working copy of it on your machine. git clone does that in one command:
$ git clone https://github.com/octocat/Hello-World.git
Cloning into 'Hello-World'...
remote: Enumerating objects: 13, done.
remote: Total 13 (delta 0), reused 0 (delta 0), pack-reused 13
Receiving objects: 100% (13/13), done.
Git creates a new folder named Hello-World, downloads the project's full history into it, and places its files in the folder so you can start reading or editing right away. There is no separate git init step needed. Cloning sets up the repository for you as part of downloading it.
git clone <url> downloads someone else's repository, whole history included, into a new folder named after the project. Reach for it when the project already exists somewhere; reach for git init when you are starting one from scratch. Once cloning finishes you have a full working copy, ready to look through or add to. What's inside the hidden .git folder
Every repository, whether you got there with git init or git clone, has a hidden folder named .git sitting at its root. It is hidden by default, so ask the terminal for the full listing with ls -a (ls lists a folder's contents, and -a includes hidden entries) to see it sit alongside your normal project files:
$ ls -a
.  ..  .git  README.md  src
That folder is the real repository. It holds every commit you have made, your branches, and the config settings from the section above. Delete the .git folder and the project loses its whole history, turning back into an ordinary folder Git no longer tracks. Everything else in the project is a working copy of what .git holds.
.git folder at its root, and that folder is the real repository: your whole history and its settings live there. Run ls -a inside a project to see it, since it is hidden by default. Never delete it unless you actually want to erase the project's whole history, since deleting it turns the folder back into a plain folder Git no longer tracks. If the terms repository and commit still feel fuzzy, What is Git covers the mental model these commands build on, and the Glossary has a short definition for every piece of vocabulary in this chapter. Once your identity is set and you have a repository to work in, The commit loop covers the everyday cycle of editing, staging, and committing you will use constantly from here on.